Home > Single Recipes > War Cake Bread From WW2: A Slice of History in Every Bite
Last Updated: February 8, 2025
I Made These FREE Vintage Recipe Tools JUST For You
This recipe was created with help from AI tools and carefully reviewed by a human. For more on how we use AI on this site, check out our Editorial Policy. Classic Fork earns a small commission from Amazon and other affiliate links at no extra cost to you, helping us keep our content free and honest.
War Cake Bread From WW2: A Slice of History in Every Bite
Time Period:
Meal Type:
Cooking Time: 20 minutes
Prep Time: 50 minutes
Total Time: 1 hour 10 minutes
Servings: 8 slices
Calories: ~180 per slice
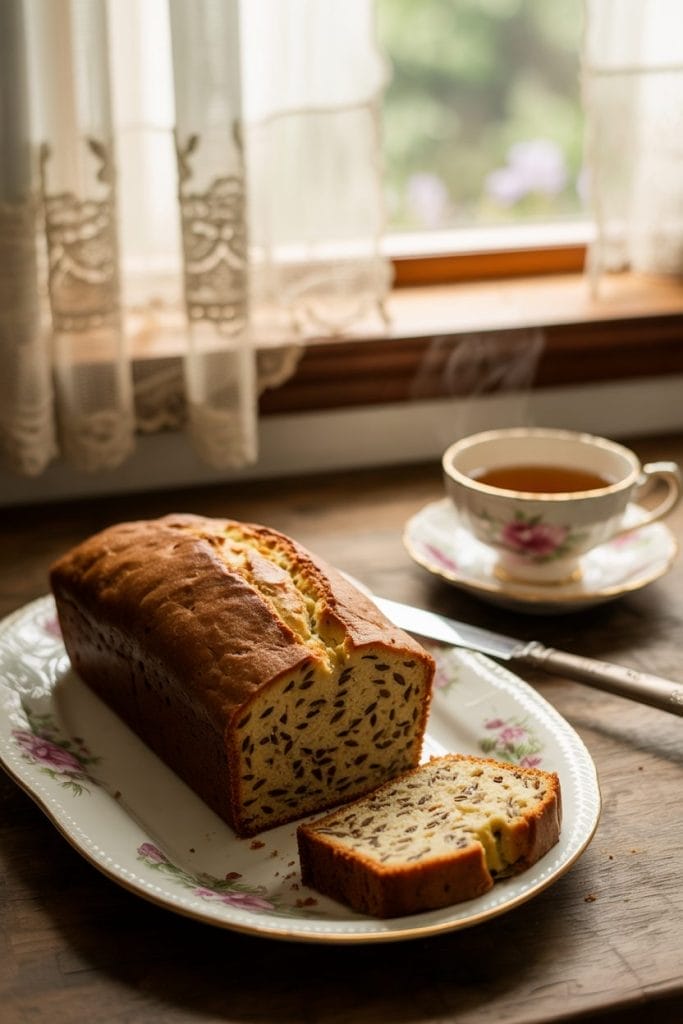
Ever wonder how people satisfied their sweet tooth during a time of rationing and shortages? Enter War Cake Bread—a simple, resourceful recipe from the WWII era that turned scarcity into delicious creativity. This bread is egg-free, milk-free, and butter-free, yet still manages to deliver a moist, flavorful slice of nostalgia. Let’s dive into this wartime classic!
What Would You Cook in Wartime?
Step back in time and discover what you could make with limited wartime rations
History
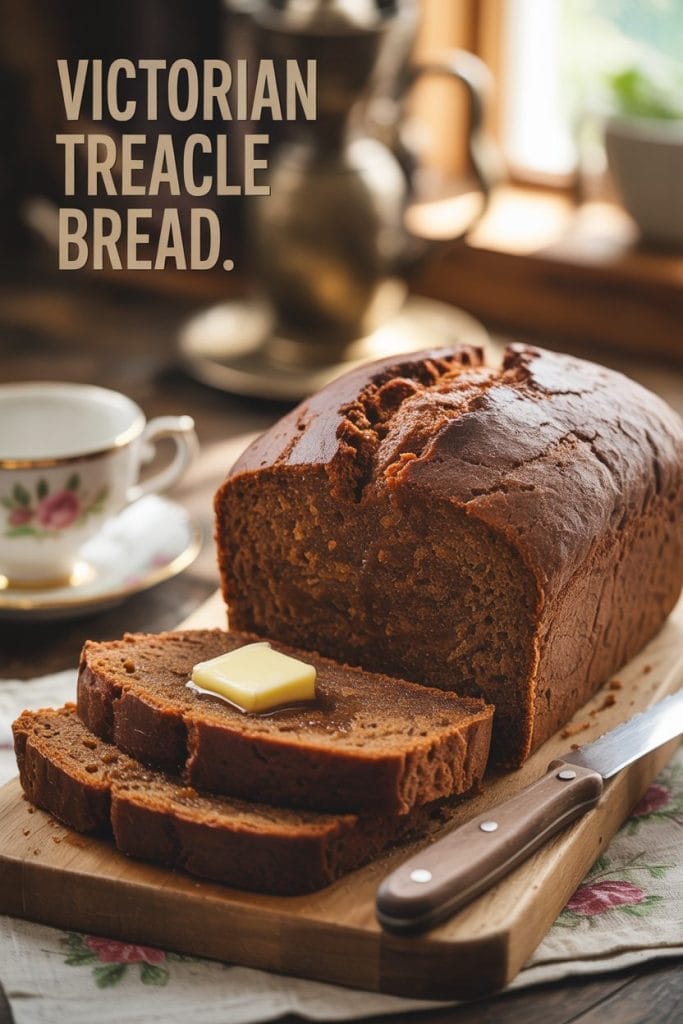
During World War II, ingredients like butter, eggs, and sugar were scarce due to rationing. To meet these challenges, home bakers relied on ingenious substitutions, creating recipes that used readily available items like raisins, molasses, and shortening. War Cake Bread, also known as Depression Cake, was born from these limitations. The result? A dense, slightly sweet loaf that symbolized the resilience and creativity of that era.
Equipment
- A medium-sized saucepan (this is the FATHER of all saucepans!)
- Mixing bowl (I love this mixing bowl set)
- Wooden spoon (Love environmet & style? Get this bamboo spoon set)
- 9×5-inch loaf pan
- Parchment paper or non-stick spray
- Measuring cups and spoons
Ingredients
- 1 cup raisins
- 1 cup water
- 1/3 cup shortening (or vegetable oil)
- 1/2 cup brown sugar
- 1/3 cup molasses
- 1/2 teaspoon salt
- 1 teaspoon ground cinnamon
- 1/2 teaspoon ground cloves
- 2 cups all-purpose flour
- 1 teaspoon baking soda

Instructions
Step 1: Prepare the Raisin Mixture
In a medium-sized saucepan, combine the raisins and water. Bring to a boil, then reduce the heat and let it simmer for 5 minutes. Remove the pan from the heat and stir in the shortening, allowing it to melt completely. Set aside to cool.
Step 2: Mix the Dry Ingredients
In a mixing bowl, whisk together the flour, baking soda, salt, cinnamon, and cloves. This step ensures the spices are evenly distributed.
Step 3: Combine Wet and Dry Ingredients
Once the raisin mixture has cooled to room temperature, stir in the brown sugar and molasses until fully dissolved. Gradually add the dry ingredients to the wet mixture, stirring until just combined. Avoid overmixing to maintain a tender texture.
Step 4: Prepare the Loaf Pan
Line a 9×5-inch loaf pan with parchment paper or lightly grease it with non-stick spray. Pour the batter into the prepared pan, spreading it evenly.

Step 5: Bake the Bread
Preheat your oven to 350°F (175°C). Bake the bread for 50 minutes, or until a toothpick inserted into the center comes out clean. Allow the loaf to cool in the pan for 10 minutes before transferring it to a wire rack to cool completely.
Special Notes
- If you don’t have molasses, substitute it with an equal amount of honey or maple syrup for a slightly different flavor.
- To give the bread a modern twist, consider adding 1/4 cup of chopped nuts or candied ginger to the batter.
- Store leftovers in an airtight container at room temperature for up to 3 days or freeze for longer storage.
Nutrition (per slice)
- Calories: ~180
- Protein: 2g
- Carbohydrates: 34g
- Fat: 5g
- Fiber: 1g
- Sugar: 16g

Maggie Hartwell
Hi there, I’m Maggie Hartwell, but you can call me Maggie—the apron-clad foodie behind Classic Fork! I created Classic Fork because I’m convinced food has a way of telling stories that words can’t. So, grab a fork and dig in. The past never tasted so good!