Home > Single Recipes > Oat Bread from WWII: A Simple Recipe for Nostalgia and Warmth
Last Updated: February 8, 2025
I Made These FREE Vintage Recipe Tools JUST For You
This recipe was created with help from AI tools and carefully reviewed by a human. For more on how we use AI on this site, check out our Editorial Policy. Classic Fork earns a small commission from Amazon and other affiliate links at no extra cost to you, helping us keep our content free and honest.
Oat Bread from WWII: A Simple Recipe for Nostalgia and Warmth
Time Period:
Meal Type:
Cooking Time: 35 minutes
Prep Time: 15 minutes
Total Time: 50 minutes
Servings: 1 loaf (6-8 slices)
Calories: Approximately 160
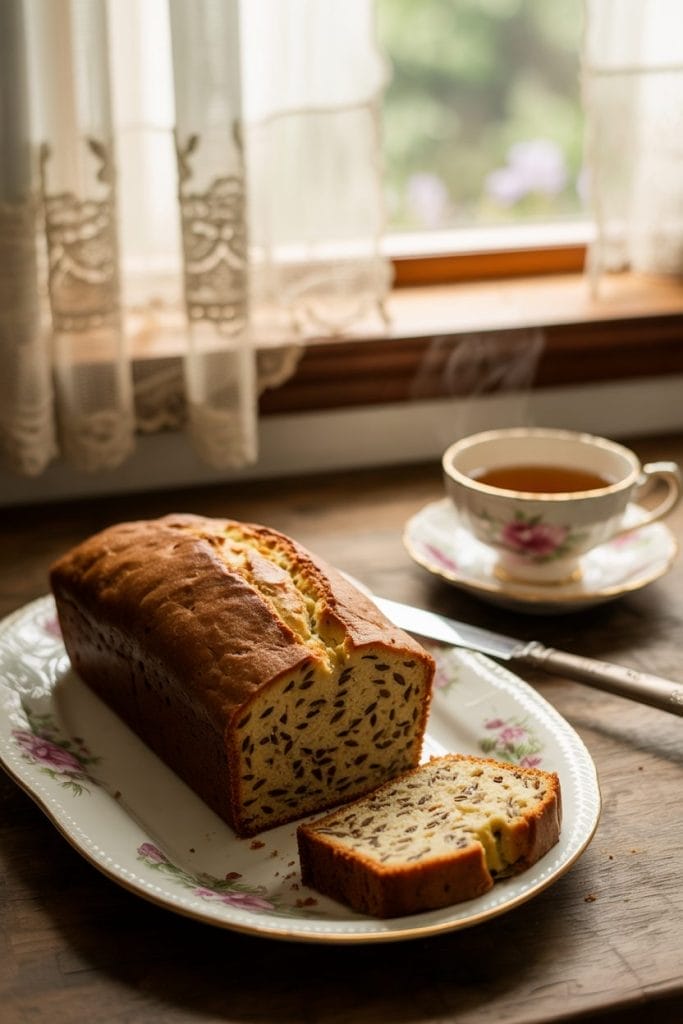
Imagine a time when every slice of bread was a precious commodity. During World War II, rationing inspired innovative recipes like oat bread—easy, hearty, and surprisingly delicious. This bread, made with simple ingredients, not only reflects a time of resourcefulness but also provides a wholesome option for modern bakers.

What Would You Cook in Wartime?
Step back in time and discover what you could make with limited wartime rations
History
Oat bread emerged as a staple during World War II when wheat flour was in short supply due to rationing. Families turned to oats as an alternative, creating a bread that was hearty, filling, and economical. This recipe became a symbol of resilience, proving that even in difficult times, people could find ways to nourish themselves with creativity and care.
Equipment
- Large mixing bowl (I love this mixing bowl set)
- Wooden spoon (Love environmet & style? Get this bamboo spoon set)
- Measuring cups and spoons
- 9×5-inch loaf pan
- Whisk
- Oven
Ingredients
- 1 ½ cups all-purpose flour
- 1 cup rolled oats (plus extra for topping)
- 1 tsp baking soda
- 1 tsp salt
- 1 tbsp sugar (optional, for a hint of sweetness)
- 1 ¾ cups buttermilk (or plain yogurt as a substitute)
- 2 tbsp melted butter or margarine

Instructions
Step 1: Preheat the Oven
Preheat your oven to 375°F (190°C). Lightly grease a 9×5-inch loaf pan or line it with parchment paper.
Step 2: Prepare the Dry Ingredients
In a large mixing bowl, combine the flour, rolled oats, baking soda, salt, and sugar (if using). Whisk these ingredients together until evenly mixed.
Step 3: Mix the Wet Ingredients
In a separate bowl or measuring cup, whisk together the buttermilk and melted butter. Make sure the butter is slightly cooled to prevent curdling the buttermilk.
Step 4: Combine Wet and Dry Mixtures
Slowly pour the wet ingredients into the bowl of dry ingredients. Stir gently with a wooden spoon until just combined. Be careful not to overmix; the batter should look slightly lumpy but moist.
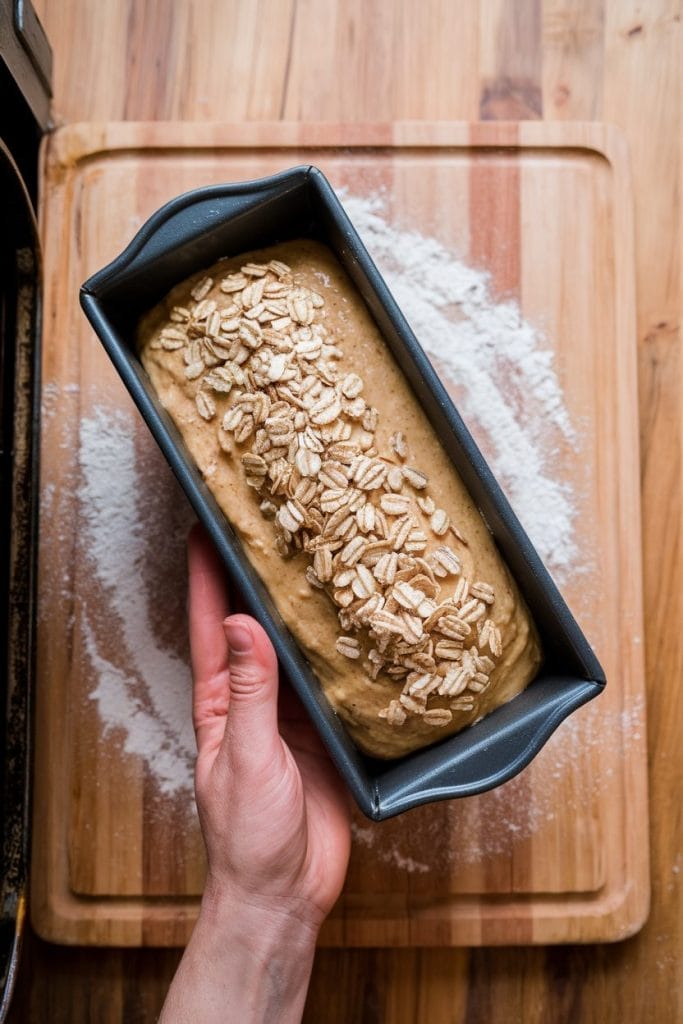
Step 5: Transfer to the Pan
Pour the batter into the prepared loaf pan, spreading it evenly with a spatula. Sprinkle a handful of oats on top for a rustic finish.
Step 6: Bake the Bread
Place the pan in the preheated oven and bake for 30-35 minutes. The bread is done when the top is golden brown, and a toothpick inserted into the center comes out clean.
Step 7: Cool and Serve
Remove the loaf from the oven and let it cool in the pan for 10 minutes. Then transfer it to a wire rack to cool completely before slicing.
Special Notes
- If you don’t have buttermilk, mix 1 ¾ cups of milk with 1 tablespoon of vinegar or lemon juice. Let it sit for 5 minutes before using.
- This bread tastes amazing with butter, jam, or honey. It’s also a great pairing for soups or stews.
- Store leftovers in an airtight container for up to 3 days, or freeze slices for later.
Nutrition (Per Slice)
- Calories: 160
- Carbohydrates: 28g
- Protein: 4g
- Fat: 4g
- Fiber: 2g
- Sodium: 250mg

Maggie Hartwell
Hi there, I’m Maggie Hartwell, but you can call me Maggie—the apron-clad foodie behind Classic Fork! I created Classic Fork because I’m convinced food has a way of telling stories that words can’t. So, grab a fork and dig in. The past never tasted so good!