Home > Single Recipes > Sally Lunn Bun: The Buttery, Historic Bread You Must Try
Last Updated: March 16, 2025
I Made These FREE Vintage Recipe Tools JUST For You
This recipe was created with help from AI tools and carefully reviewed by a human. For more on how we use AI on this site, check out our Editorial Policy. Classic Fork earns a small commission from Amazon and other affiliate links at no extra cost to you, helping us keep our content free and honest.
Sally Lunn Bun: The Buttery, Historic Bread You Must Try
Time Period:
Meal Type:
Cooking Time: 30 minutes
Prep Time: 2 Hours
Total Time: 2 Hours 30 minutes
Servings: 8-10 buns
Calories: ~250 per serving
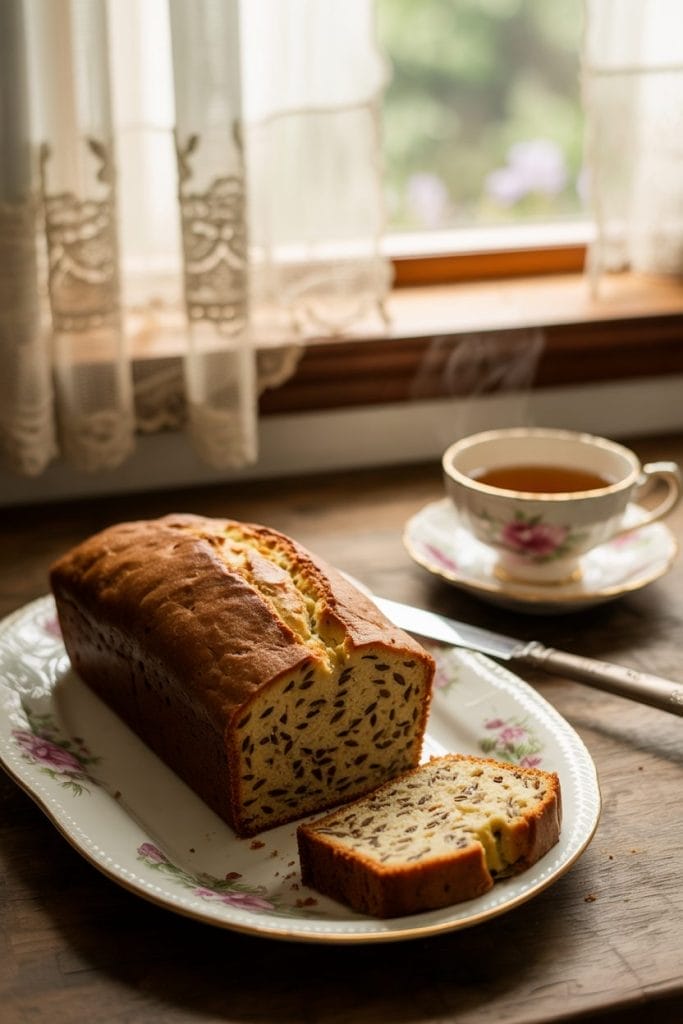
Sally Lunn Buns are soft, slightly sweet, and enriched with butter and eggs, making them a delightful treat from the colonial era.
Originally brought from England, these buns became a staple in American kitchens, beloved for their rich texture and delicate flavor. Whether served warm with butter or toasted with jam, they offer a taste of history in every bite.

What Would You Cook in Wartime?
Step back in time and discover what you could make with limited wartime rations
History
The origins of the Sally Lunn Bun trace back to 17th-century England, where a baker named Sally Lunn popularized this brioche-style bread in Bath. Colonists brought the recipe to America, where it was adapted with local ingredients.
This buttery, egg-rich bun became a favorite at tea time and breakfast tables in early American homes, especially in the South. Some versions were baked in large molds, resembling modern-day pound cakes.
Equipment
- Large mixing bowl (I love this mixing bowl set)
- Stand mixer with dough hook (optional)
- Whisk
- Wooden spoon (Love environmet & style? Get this bamboo spoon set)
- Measuring cups and spoons
- 9-inch round cake pan (this 6 piece set will hook you up for a long time!) or loaf pan
- Kitchen towel
- Oven
Ingredients
- 3 1/2 cups all-purpose flour
- 1/3 cup sugar
- 1 packet (2 1/4 teaspoons) active dry yeast
- 1/2 teaspoon salt
- 1/2 cup warm milk (110°F)
- 1/2 cup unsalted butter, melted
- 3 large eggs
- 1/4 cup warm water
- 1 teaspoon vanilla extract (optional)
- Extra melted butter for brushing
Instructions
1. Activate the Yeast
In a small bowl, combine the warm water and yeast. Let it sit for 5-10 minutes until foamy. This ensures that the yeast is active and ready for rising.
2. Mix Dry Ingredients
In a large mixing bowl, whisk together the flour, sugar, and salt. This helps distribute the ingredients evenly before adding the wet components.
3. Combine Wet Ingredients
In a separate bowl, whisk the eggs, warm milk, melted butter, and vanilla extract (if using). Pour in the activated yeast mixture and stir well.

4. Form the Dough
Slowly add the wet ingredients to the dry ingredients, mixing with a wooden spoon or stand mixer with a dough hook. Knead for about 5-7 minutes until you get a soft, slightly sticky dough. If it’s too sticky, add a little more flour, one tablespoon at a time.
5. First Rise
Place the dough in a greased bowl, cover it with a kitchen towel, and let it rise in a warm place for about 1 to 1.5 hours or until doubled in size.
6. Shape and Second Rise
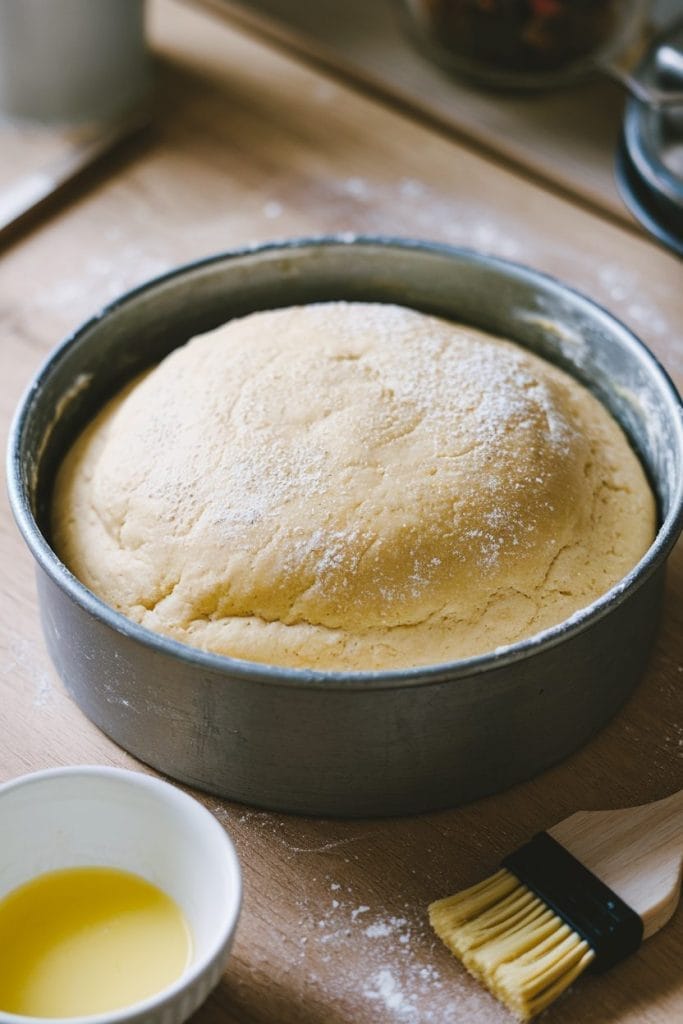
Punch down the risen dough and transfer it to a greased 9-inch round cake pan or loaf pan. Smooth the top and cover again, letting it rise for another 30 minutes.
7. Bake
Preheat your oven to 350°F (175°C). Bake the bun for 25-30 minutes until golden brown on top and a toothpick inserted comes out clean.
8. Brush with Butter and Cool
As soon as it comes out of the oven, brush the top with melted butter for a glossy finish. Let it cool for at least 15 minutes before slicing.
Special Notes
- For a lighter texture, use bread flour instead of all-purpose flour.
- If you prefer a slightly sweeter bun, increase the sugar to 1/2 cup.
- Store leftovers in an airtight container for up to 3 days. Toast before serving for the best flavor.
- This bun pairs beautifully with honey butter, fruit preserves, or even a savory topping like ham and cheese.
Nutrition
| Nutrient | Amount per Serving |
|---|---|
| Calories | ~250 kcal |
| Carbohydrates | 35g |
| Protein | 6g |
| Fat | 10g |
| Saturated Fat | 5g |
| Sugar | 7g |
| Sodium | 180mg |

Maggie Hartwell
Hi there, I’m Maggie Hartwell, but you can call me Maggie—the apron-clad foodie behind Classic Fork! I created Classic Fork because I’m convinced food has a way of telling stories that words can’t. So, grab a fork and dig in. The past never tasted so good!

