Home > Single Recipes > Vinegar Cake From World War 2: A Wartime Delight That Stood the Test of Time
Last Updated: March 25, 2025
I Made These FREE Vintage Recipe Tools JUST For You
This recipe was created with help from AI tools and carefully reviewed by a human. For more on how we use AI on this site, check out our Editorial Policy. Classic Fork earns a small commission from Amazon and other affiliate links at no extra cost to you, helping us keep our content free and honest.
Vinegar Cake From World War 2: A Wartime Delight That Stood the Test of Time
Time Period:
Meal Type:
Cooking Time: 40 minutes
Prep Time: 15 minutes
Total Time: 55 minutes
Servings: 8 slices
Calories: 230 per slice
Imagine savoring a moist, rich cake made without eggs, butter, or milk. Sounds unusual? This Vinegar Cake from WWII does exactly that!
During wartime rationing, creative home bakers devised this ingenious recipe, using vinegar to make the cake rise.
Its tangy yet sweet flavor and light texture prove that even in tough times, there’s room for delicious treats.

What Would You Cook in Wartime?
Step back in time and discover what you could make with limited wartime rations
History
During World War II, food shortages meant that staples like eggs, butter, and milk were luxuries.
Vinegar Cake became a household favorite because it required none of these rationed items. Instead, vinegar combined with baking soda acted as a leavening agent.
This cake, also known as “Wacky Cake” or “War Cake,” reflects a time when ingenuity met the necessity to create something memorable and comforting.
Equipment
- Mixing bowls (I love this mixing bowl set) (2 large)
- Whisk or spoon
- Measuring cups and spoons
- 8-inch round cake tin (this 6 piece set will hook you up for a long time!)
- Parchment paper
- Cooling rack
Ingredients
- 1 ½ cups all-purpose flour
- 1 cup granulated sugar
- 1 tsp baking soda
- ½ tsp salt
- 3 tbsp cocoa powder (optional, for a chocolate version)
- 1 tbsp white vinegar
- 5 tbsp vegetable oil
- 1 tsp vanilla extract
- 1 cup water
Instructions
Step 1: Preheat the Oven and Prepare the Pan
Preheat your oven to 350°F (175°C). Line the bottom of your 8-inch round cake tin with parchment paper and lightly grease the sides.
Step 2: Mix the Dry Ingredients
In a large bowl, sift together the flour, sugar, baking soda, salt, and cocoa powder (if using). Stir well to ensure even distribution.
Step 3: Combine the Wet Ingredients
In another bowl, mix water, vegetable oil, vinegar, and vanilla extract. Whisk until fully combined.

Step 4: Combine Wet and Dry Mixtures
Create a well in the center of the dry ingredients and pour the wet mixture into it. Stir gently until just combined. Avoid overmixing; a few lumps are fine.
Step 5: Pour and Bake
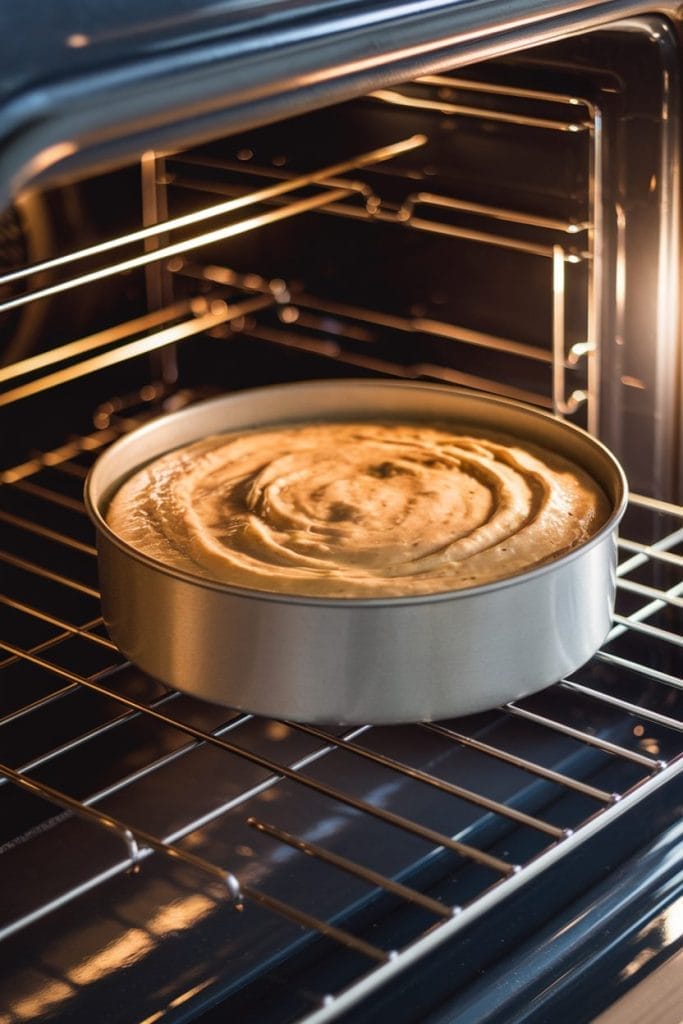
Pour the batter into the prepared cake tin. Tap the tin lightly on the counter to remove air bubbles. Bake for 35–40 minutes, or until a toothpick inserted into the center comes out clean.
Step 6: Cool the Cake
Remove the cake from the oven and let it cool in the tin for 10 minutes. Transfer to a cooling rack and let it cool completely before serving or decorating.
Special Notes
- This cake pairs wonderfully with a simple powdered sugar glaze or jam spread for a quick topping.
- Add raisins or spices like cinnamon or nutmeg for a variation closer to traditional “War Cake.”
- Keep the cake stored in an airtight container; it stays moist for 2–3 days at room temperature.
Nutrition
- Calories: 230
- Carbohydrates: 34g
- Protein: 2g
- Fat: 10g
- Sodium: 150mg
- Sugar: 22g

Maggie Hartwell
Hi there, I’m Maggie Hartwell, but you can call me Maggie—the apron-clad foodie behind Classic Fork! I created Classic Fork because I’m convinced food has a way of telling stories that words can’t. So, grab a fork and dig in. The past never tasted so good!

