Home > Single Recipes > French Chestnut Flour Bread (“Pain de Châtaigne”) – A Rustic Wartime Loaf From World War 2
Last Updated: February 8, 2025
I Made These FREE Vintage Recipe Tools JUST For You
This recipe was created with help from AI tools and carefully reviewed by a human. For more on how we use AI on this site, check out our Editorial Policy. Classic Fork earns a small commission from Amazon and other affiliate links at no extra cost to you, helping us keep our content free and honest.
French Chestnut Flour Bread (“Pain de Châtaigne”) – A Rustic Wartime Loaf From World War 2
Time Period:
Meal Type:
Cooking Time: 35-40 minutes
Prep Time: 2 hours (including rising time)
Total Time: Approximately 2 hours 40 minutes
Servings: 1 loaf (about 8-10 slices)
Calories: 170 kcal per slice (approximate)
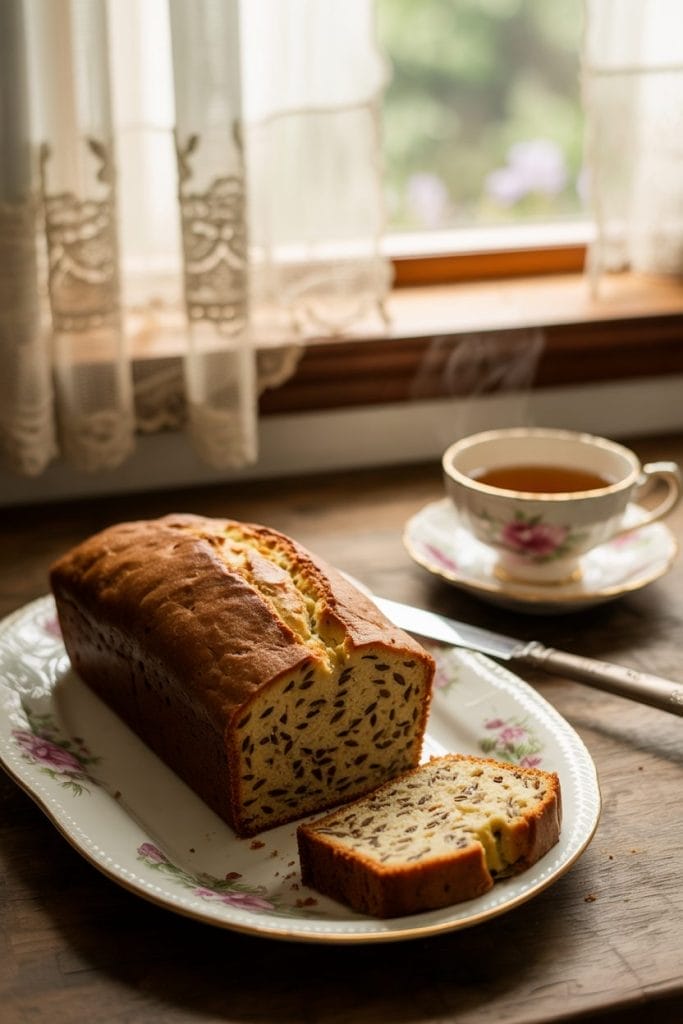
There’s something profoundly comforting about the aroma of freshly baked bread, and when that bread is infused with the delicate sweetness of chestnut flour, the sensory experience becomes truly remarkable.
During World War II, resourcefulness in the kitchen was not just a virtue—it was a necessity. Wheat flour was often scarce or heavily rationed, leading French bakers and home cooks to turn to alternatives like chestnut flour, a staple in certain regions of France for centuries.
This French Chestnut Flour Bread pays homage to those inventive wartime bakers, blending tradition with innovation to yield a loaf that’s subtly nutty, tender, and entirely unforgettable.

What Would You Cook in Wartime?
Step back in time and discover what you could make with limited wartime rations
History
Chestnut flour has deep historical roots in parts of rural France, especially in regions like Corsica and the Ardèche, where chestnut trees flourished. It was a staple before and during World War II, when standard wheat flour was sometimes elusive.
Bakers supplemented or replaced wheat flour with chestnut flour to make bread more accessible. The resulting loaves were heartier, denser, and carried a mild sweetness and earthy flavor profile.
For many who lived through the war, this “pain de châtaigne” became a symbol of resilience, creativity, and a reminder of simpler times when the essence of a loaf lay in its ability to sustain.
Equipments
- Large mixing bowl (I love this mixing bowl set)
- Medium mixing bowl
- Wooden spoon (Love environmet & style? Get this bamboo spoon set) or spatula
- Kitchen scale (recommended for accuracy)
- Clean kitchen towel or plastic wrap
- Loaf pan or baking sheet lined with parchment paper
- Wire rack for cooling
- Oven, preheated for baking
Ingredients
- 200g chestnut flour (about 2 cups)
- 300g bread flour or all-purpose flour (about 2½ cups)
- 7g active dry yeast (1 standard packet)
- 1 teaspoon salt
- 350ml lukewarm water (about 1½ cups)
- 1 tablespoon olive oil (optional, for additional moisture)
- Extra flour for dusting
Instructions
Step 1: Activate the Yeast
In a medium bowl, combine the lukewarm water with the yeast. Stir gently and allow it to sit for about 5-10 minutes until a light foam forms on the surface, indicating the yeast is active.
Step 2: Combine the Flours
In a large mixing bowl, whisk together the chestnut flour, bread flour, and salt. Ensure they are well combined to distribute the salt evenly.
Step 3: Mix the Dough
Slowly pour the activated yeast mixture into the flour blend. Add the olive oil if using. Stir with a wooden spoon or spatula until the mixture forms a sticky dough. If it’s too dry, add a bit more water, one tablespoon at a time. The dough should be slightly sticky but workable.
Step 4: Knead the Dough
Turn the dough out onto a lightly floured surface. Knead gently for about 10 minutes until smooth and elastic. Don’t overwork it—chestnut flour lacks gluten, so the dough won’t feel as springy as a pure wheat dough, but you should still achieve a cohesive, pliable texture.

Step 5: First Rise
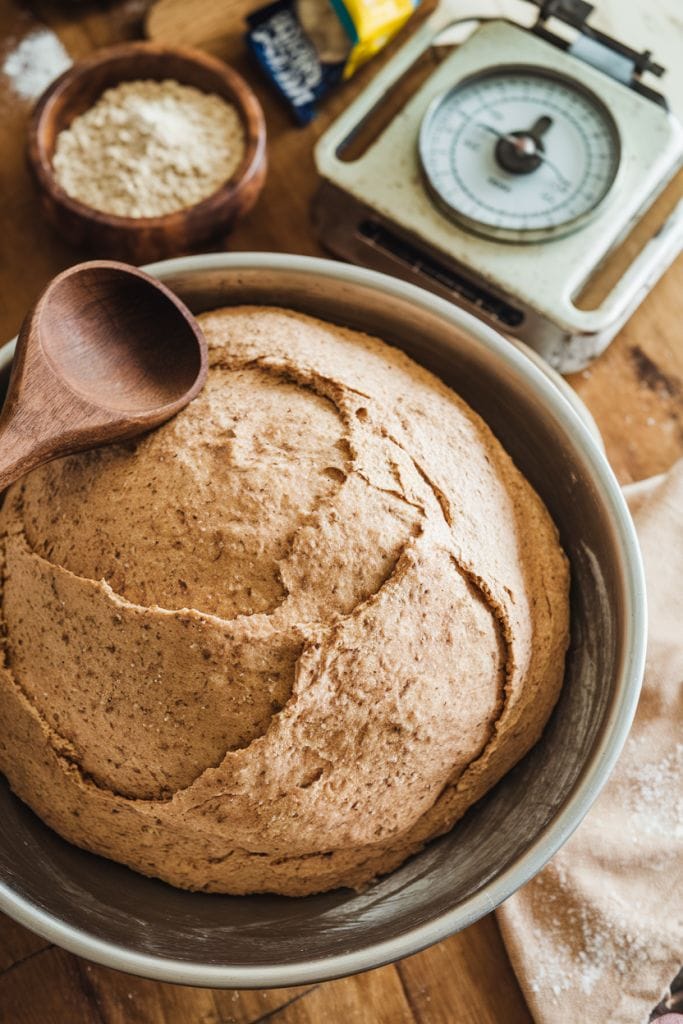
Place the dough back into the lightly oiled bowl and cover it with a clean kitchen towel or plastic wrap. Let it rise in a warm, draft-free spot for about 1 hour or until doubled in size.
Step 6: Shape the Loaf
Punch down the risen dough gently to release any large air bubbles. Form it into a loaf shape. Transfer it to a loaf pan or onto a parchment-lined baking sheet. Cover and let it rise again for about 30-45 minutes until it puffs up slightly.
Step 7: Bake
Preheat your oven to 220°C (430°F). Once the dough has risen, slash the top with a sharp knife (Chefs envy this knife set) to allow steam to escape. Place the bread in the oven and bake for 10 minutes at 220°C, then reduce the heat to 190°C (375°F) and continue baking for an additional 25-30 minutes. The bread is done when it sounds hollow when tapped on the bottom.
Step 8: Cool Before Slicing
Remove the loaf from the oven and let it cool on a wire rack for at least 30 minutes before slicing. This resting period allows the crumb to set, resulting in a more enjoyable texture.
Special Notes
- Flour Ratios: Chestnut flour is gluten-free and tends to produce a denser texture. Mixing it with wheat flour helps provide structure and rise.
- Flavor Profile: The bread will have a subtle sweetness and a slightly nutty flavor. It pairs exceptionally well with fresh butter, jam, or soft cheeses.
- Storage: Wrap your cooled bread in a clean cloth or store in an airtight container to maintain freshness. Slight dryness is normal over time—just toast slices to revive them.
Nutrition (per slice, approx.)
- Calories: ~170 kcal
- Carbohydrates: ~32g
- Protein: ~5g
- Fat: ~2g
- Fiber: ~3g
- Sugar: ~1g
- Sodium: ~170mg

Maggie Hartwell
Hi there, I’m Maggie Hartwell, but you can call me Maggie—the apron-clad foodie behind Classic Fork! I created Classic Fork because I’m convinced food has a way of telling stories that words can’t. So, grab a fork and dig in. The past never tasted so good!

